Uploading Certificates in E‑Shikshakosh Quick Tips 2025
Uploading Certificates in E‑Shikshakosh Quick Tips 2025
Uploading your certificates on the E‑Shikshakosh portal is an essential task to complete your profile and ensure that your professional records are accurate. Whether it’s your qualification certificates, training certifications, or any other important documents, uploading them correctly is important for smooth functioning. In this guide, I’ll walk you through the process of uploading certificates in E‑Shikshakosh and share some quick tips to avoid common issues.

Why Uploading Certificates is Important
Uploading your certificates on E‑Shikshakosh helps the system verify your qualifications, training records, and service history. These records are essential for:
Verification: Ensuring your qualifications and training are accurately recorded.
Promotions & Transfers: Having your certificates on file can be crucial for promotions, transfers, and other career progression decisions.
Salary Discrepancies: Sometimes, salary discrepancies can be avoided when the system is up-to-date with your training and qualifications.
Without uploading the necessary certificates, your profile may remain incomplete, and certain services may not function correctly.
You can also read:E‑Shikshakosh Helpdesk What Teachers Need to Know 2025?
Step-by-Step Guide to Uploading Certificates on E‑Shikshakosh
Follow these simple steps to upload your certificates correctly:
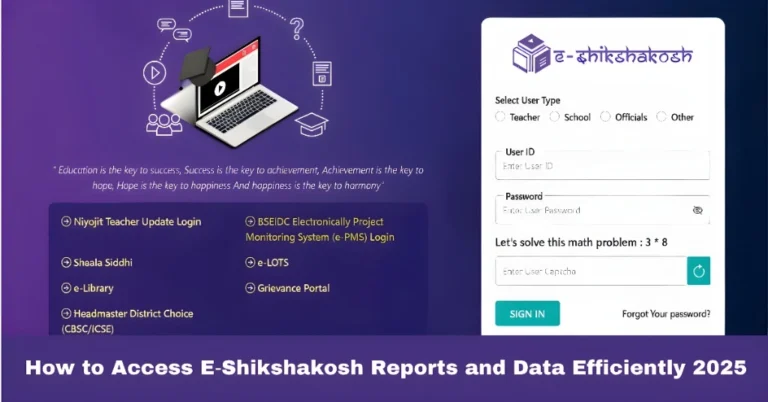
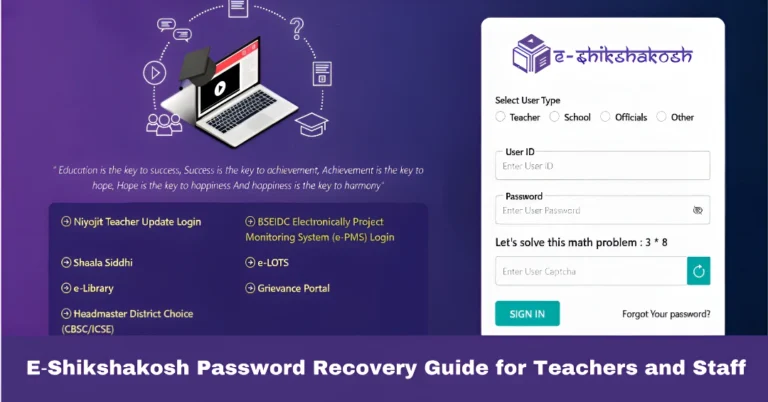
Open the E‑Shikshakosh portal and log in with your Teacher ID and password.
Once logged in, navigate to the “Profile” or “My Profile” section, where you can view and edit your details.
In your profile, you will see an option to upload documents. Look for sections like “Educational Qualifications”, “Training Certificates”, or “Service Records”.
Select the type of certificate you’re uploading (e.g., Degree Certificate, Training Certificate, Aadhar Card, Qualification Documents). If there’s a drop-down or options to select, pick the correct one to ensure the system classifies your document correctly.
Ensure that the certificate is scanned or photographed clearly. The document should be in PDF, JPG, or PNG format, as these are usually supported.
Tip: Make sure the file is legible — blurry or poorly scanned documents may not be accepted.
File size: Check the file size limit mentioned on the portal. If the document is too large, you can resize or compress it before uploading.
Click on the “Choose File” or “Upload” button to select the certificate from your device. After selecting the file, click “Upload” to save it.
Once uploaded, make sure the document is visible in your profile. Some portals allow you to view uploaded files, so confirm that your document is correctly uploaded.
After uploading all necessary documents, don’t forget to click “Save” or “Submit” to store the changes in your profile.
Quick Tips for Smooth Uploads
Use clear scans or photos of your certificates. Poor quality or blurry images may not be accepted. Ensure the text is readable, and the entire document is in the frame.
Some portals have file size limits (e.g., 2 MB). If your certificate file exceeds the limit, use tools to compress the file without compromising quality.
Check that your file is in an acceptable format like PDF, JPG, or PNG. Files in other formats may not upload successfully.
Always ensure your profile is up-to-date with the latest certifications and documents. Keep scanning new certificates and uploading them on time.
If required, name your files according to the portal’s guidelines (e.g., “Training_Certificate_Teachers_Name_Year.pdf”). This helps avoid confusion when your records are processed.
After uploading certificates, your documents might take a few days to be verified by the admin or higher authorities. Don’t worry if it’s not visible immediately. The system will notify you once the verification is complete.
Common Issues with Uploading Certificates and How to Fix Them
Issue 1: File Size Too Large
Solution: Use an online tool to compress the document while maintaining readability.
Issue 2: File Format Not Supported
Solution: Ensure your document is either in PDF, JPG, or PNG format. Use an online converter if necessary.
Issue 3: Upload Failed or Error Message
Solution: Double-check your internet connection. Try re-uploading after clearing your browser cache, or switch to a different browser if the issue persists.
Issue 4: Document Not Displaying After Upload
Solution: Refresh the page and check your file under the “Uploaded Documents” section. If the problem persists, contact your school admin.
FAQs
Final Words
Uploading certificates in E‑Shikshakosh might seem tricky at first, but it’s actually a straightforward process. Just make sure your documents are clear, correctly formatted, and uploaded to the right sections of your profile. Following these tips will help ensure that your records are updated properly and your qualifications are verified in time for any important administrative processes, like promotions or transfers.
Don’t hesitate to contact your school admin if you face any issues during the upload process. Once everything is uploaded, you can rest assured that your profile will be fully updated and ready to go!