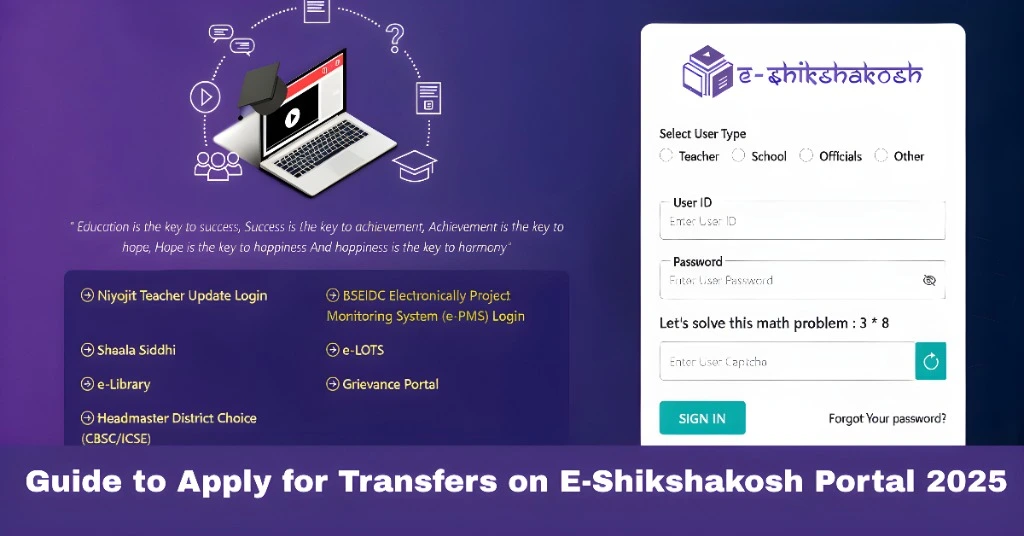
Guide to Apply for Transfers on E-Shikshakosh Portal 2025
Guide to Apply for Transfers on E-Shikshakosh Portal 2025
If you’re a teacher in Bihar and looking to apply for a transfer through the E-Shikshakosh portal, the process is simple but requires careful attention to detail. This guide will walk you through each step of the transfer application process to ensure your request is submitted smoothly
Log In to the E-Shikshakosh Portal
Step 1: Open your preferred web browser and go to the E-Shikshakosh portal.
Step 2: Enter your login credentials (User ID and Password).
Step 3: Click on the Login button to access your dashboard.
Tip: Make sure your login credentials are correct. If you’ve forgotten your password, use the “Forgot Password” option to reset it.
Navigate to the Transfer Section
Step 1: Once you’re logged in, look for the “Transfer Application” section on your dashboard..
Step 2: Click on this section to open the transfer application page.
Tip: If you’re having trouble finding the transfer section, use the search bar on your dashboard.
Fill Out the Transfer Application Form
Step 1: You’ll be presented with a form that requires several details. These might include:
Current school details (Name of the school, location)
Personal information (Name, ID, Designation)
Requested transfer school details (Preferred location or school)
Reasons for the transfer (if applicable)
Step 2: Ensure all required fields marked with an asterisk (*) are filled out.
Tip: Double-check for any errors in your details to avoid delays in processing your transfer request
Attach Required Documents
Step 1: If necessary, upload supporting documents like:
Address proof
ID proof
Previous transfer certificates (if applicable)
Any other required documents (e.g., medical or personal reasons for transfer)
Step 2: Make sure the documents are in the correct format (PDF, JPG, etc.) and are clear and legible.
Tip: Keep the file size within the allowed limits to avoid upload issues.
Review Your Application
Step 1: Before submitting, carefully review all the information you’ve entered.
Step 2: Check for any mistakes or missing documents.
Tip: It’s a good idea to take a few minutes to read through your application carefully to avoid any errors that might delay the approval process.
Submit Your Transfer Request
Step 1: Once everything looks good, click on the “Submit” button at the bottom of the page.
Step 2: After submission, you’ll receive a confirmation message or email confirming your transfer request.
Tip: Take a screenshot or print the confirmation page for your records.
Track the Status of Your Application
Step 1: After submitting, go back to your dashboard and look for the “Transfer Status” option.
Step 2: Click on it to see the current status of your transfer application. This will show whether your request is under review, approved, or rejected.
Tip: Keep an eye on this section for any updates or notifications.
Contact Support if Necessary
Step 1: If you encounter any issues or don’t see updates on your transfer status, reach out to the support team.
Step 2: You can contact E-Shikshakosh at 9523300520 (8 AM – 8 PM, Mon-Sat) or 9430820499 (10 AM – 6 PM, Mon-Fri).
Tip: Always provide your User ID and detailed information about the issue for faster resolution
FAQs
Final Thoughts
Applying for a transfer on the E-Shikshakosh portal is straightforward when you follow these steps. Ensure you provide accurate details, upload the required documents, and submit your application on time. Stay updated with your transfer status and contact support if any issues ari