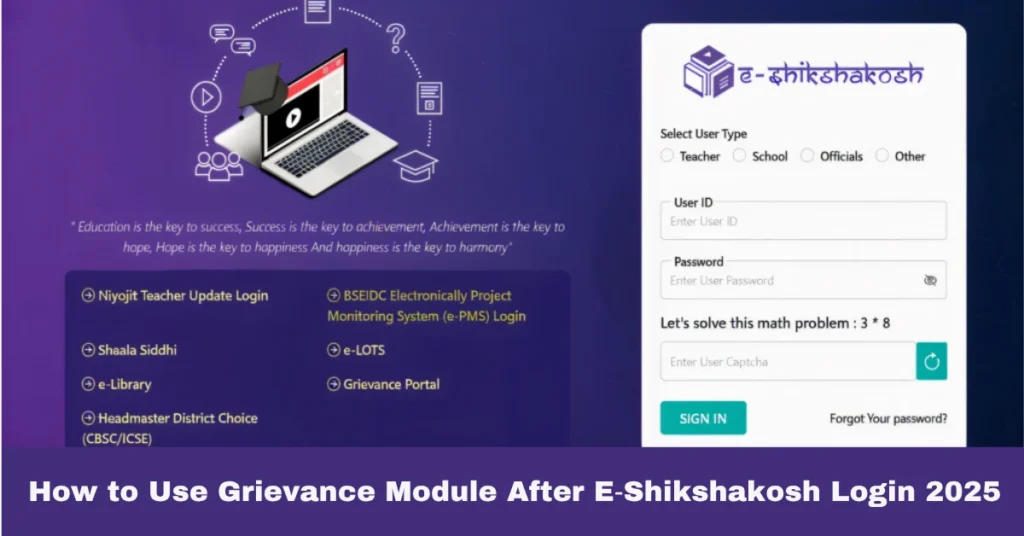
How to Use Grievance Module After E‑Shikshakosh Login 2025
How to Use Grievance Module After E‑Shikshakosh Login 2025
If you’ve encountered an issue while using the E‑Shikshakosh portal, whether it’s related to your Teacher ID, attendance, profile details, or any other feature, the Grievance Module is your go‑to tool for reporting problems. This helpful feature allows you to raise concerns directly within the portal, ensuring they get the attention they need. In this guide, I’ll walk you through how to use the Grievance Module after logging into E‑Shikshakosh and how to effectively submit a grievance.
What is the Grievance Module on E‑Shikshakosh?
The Grievance Module is a feature in the E‑Shikshakosh portal designed for teachers, headmasters, and school officials to report issues that cannot be resolved through regular channels. This could include:
Technical issues: Problems with logging in, marking attendance, or accessing records.
Profile updates: Issues related to your Teacher ID, posting details, or service records not showing.
Server or portal issues: In case of system errors or downtime.
Discrepancies in data: When your attendance, training records, or salary are incorrect or not reflected.
Using this module, you can escalate problems that need immediate attention or that have not been resolved by your school administration.
You can also read:E‑Shikshakosh Login Works But “No Records Found” Update 2025
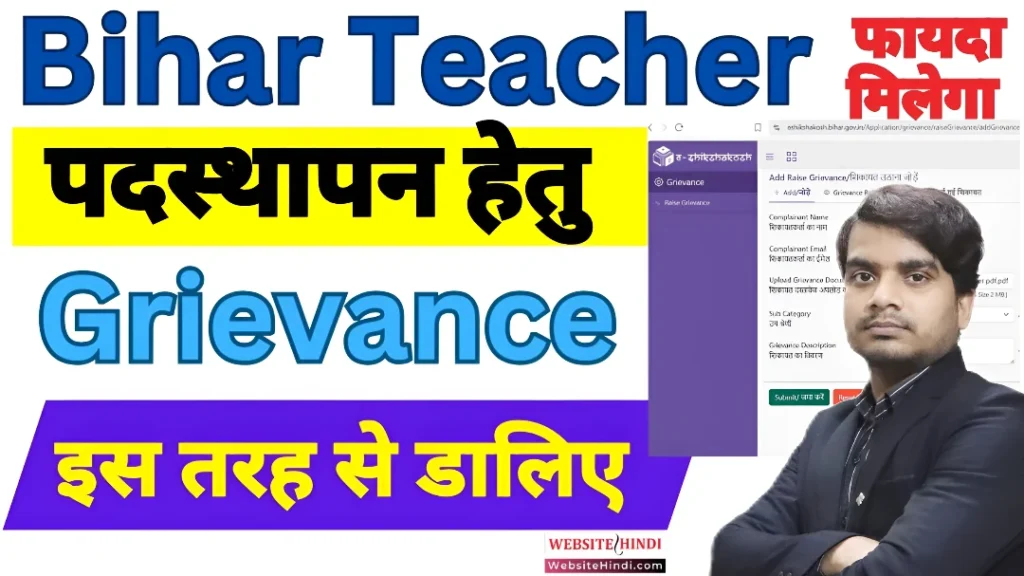
Step‑by‑Step Guide to Filing a Grievance After E‑Shikshakosh Login
To start, you need to log in to the E‑Shikshakosh portal with your Teacher ID and password. If you haven’t registered or have forgotten your credentials, make sure to reset them before proceeding.
Once you’re logged in, you’ll be directed to your dashboard. Look for the Grievance Section in the menu. This is often located under “My Profile” or “Help Desk”. The exact location may vary slightly depending on the version of the portal, but it should be easy to find.
Once you’re in the Grievance Module, you’ll be prompted to select the type of issue you’re experiencing. There are typically several categories to choose from, such as:
- Technical Issues (e.g., “Cannot log in”, “Attendance not marking”)
- Data Discrepancies (e.g., “Wrong Teacher ID”, “Profile not showing”)
- Server or Portal Errors (e.g., “Portal not loading”, “Error messages”)
- Other (if your issue doesn’t fit any of the categories above)
Choose the category that best describes your problem to help the system direct your grievance to the right department.
After selecting the category, you will be asked to provide a detailed description of your issue. Be as clear and specific as possible, including the following:
- Your Teacher ID and school details
- Date and time when the issue occurred (e.g., “I tried to mark attendance on 5th April at 10 AM, but the system showed an error”)
- Screenshots of any error messages or issues (if applicable)
- Any previous attempts to resolve the issue (e.g., “I contacted my school admin but the issue was not resolved”)
The more detail you provide, the easier it will be for the support team to understand and resolve your issue.
Once you’ve filled out the necessary information, click Submit to officially raise your grievance. You should receive an acknowledgment message that your grievance has been submitted, along with a tracking ID.
After submitting the grievance, you can check the status of your complaint in the Grievance Section. It might show statuses such as:
Rejected: Your grievance has been closed without a resolution (you’ll typically be given a reason for this).
Pending: Your grievance is being reviewed.
Resolved: Your issue has been fixed.
You can also escalate the grievance if you believe it requires further attention. Keep an eye on the status and follow up as necessary.
Tips for Submitting a Grievance Effectively
Be Detailed: The more specific you are about your issue, the quicker it can be resolved.
Attach Proof: If you can, attach screenshots or other evidence of the issue. This helps support your case and speeds up the process.
Check for Updates: Regularly check the Grievance Section for any updates on your complaint.
Follow Up: If your grievance is unresolved after a reasonable amount of time, follow up by contacting your school admin or the support team.
Escalate if Needed: If the issue persists and you haven’t received a resolution, don’t hesitate to escalate the grievance to the next level.
FAQs
Final Words
The Grievance Module in E‑Shikshakosh is an important tool that helps you get quick assistance for any problems you encounter while using the portal. Whether it’s a technical issue, data discrepancy, or portal downtime, raising a grievance ensures that your issue is addressed in a timely manner. By following the steps in this guide, you can efficiently submit a grievance and track its resolution.