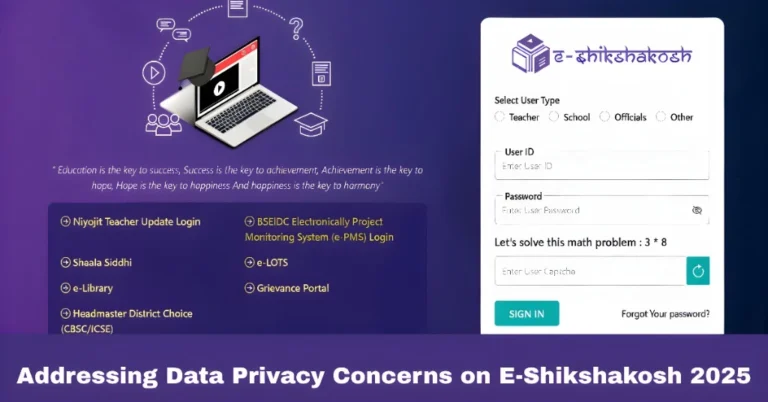
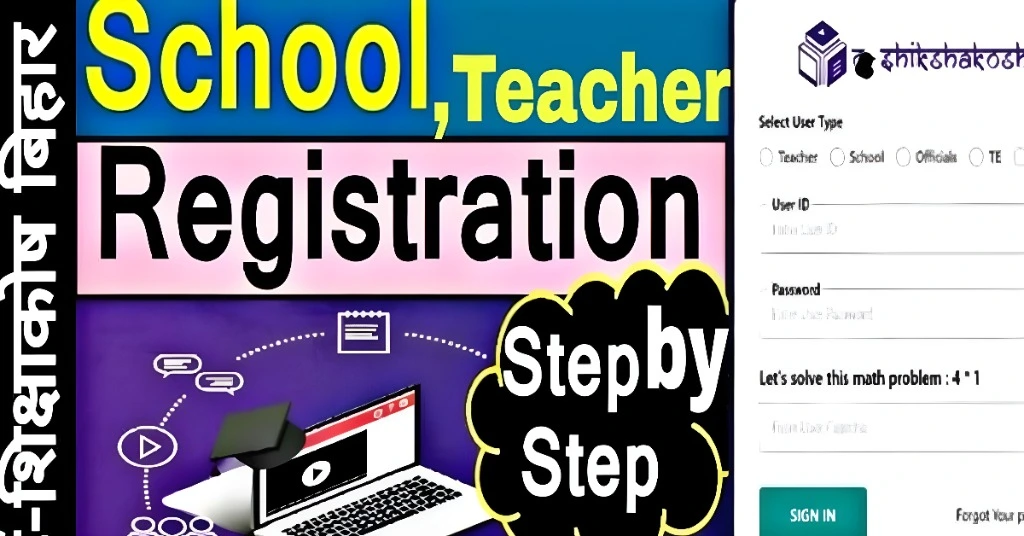
How to Register on E-Shikshakosh Bihar Portal update 2025
How to Register on E-Shikshakosh Bihar Portal update 2025
If you’re a teacher, headmaster, or education official in Bihar, the E-Shikshakosh portal is a great platform to manage your school-related tasks, access real-time data, and stay updated on educational programs. But first things first – you need to register on the portal to start using these features.
Don’t worry, the registration process is simple and quick. Let’s go step by step to get you started.

Step 1: Visit the E-Shikshakosh Bihar Portal
To begin, head to the official E-Shikshakosh portal. Here’s the link:
E-Shikshakosh Portal
This is where all the magic happens. Once you’re on the website, you’ll find a clean, easy-to-navigate interface that makes the process smoother.
You can also read:How to Resolve Location Verification Failures in E-Shikshakosh
Step 2: Click on the ‘Registration’ Button
On the homepage of the portal, you’ll see a ‘Registration’ button. Click on it to begin the process of signing up. This is where you’ll create your account, so you can access all the features E-Shikshakosh offers.
Step 3: Fill in Your Details
Now, you’ll be prompted to fill in some basic information. Here’s what you’ll need:
Name:
Your full name as per your official documents.
Make sure it’s an active email because you’ll receive verification emails here.
You’ll receive an OTP to verify your number.
Designation:
Mention if you’re a teacher, headmaster, or any other educational official.
The school you’re associated with, including the district and block details.
Once you’ve entered all this info, double-check for accuracy. Mistakes here can delay your registration process.
Step 4: Verify Your Email and Phone Number
After submitting your details, you’ll receive a One-Time Password (OTP) on your phone number and email. You’ll need to enter these OTPs to verify both your contact details.
This step ensures that only valid users are registering on the platform.
Step 5: Create a Strong Password
Now it’s time to create a password. Make sure your password is:
- At least 8 characters long.
- A mix of letters, numbers, and special characters.
This helps keep your account secure.
Step 6: Complete Registration
After entering and verifying all the details, you’ll need to agree to the terms and conditions of the portal. Once you click on ‘Submit’, your registration will be complete!
You’ll be redirected to the portal’s dashboard, where you can log in with your new account.
Step 7: Login and Start Using E-Shikshakosh
Now that you’re registered, use the Login button to enter your account. Simply enter your registered email address and password to access your dashboard.
Once logged in, you can start:
Step 8: Explore the Features of E-Shikshakosh
Once registered and logged in, take time to explore the different features that E-Shikshakosh offers. These include:
Easily track and manage student attendance.
Stay updated with the latest government-sponsored educational initiatives.
Access school data reports, performance tracking, and much more.
Helpful Tips for E-Shikshakosh Registration
Keep your documents handy: During registration, you might need your Aadhar card, school details, or other official documents. Have them ready to avoid interruptions.
Use a valid email and phone number: If you face issues with verification, double-check that your email and phone number are entered correctly.
Secure your password: Use a strong and unique password to keep your account safe from unauthorized access.
Update your profile: Once registered, take time to fill out your profile with accurate school details and your role. This helps with easy access to the portal’s features.
FAQs
Final Words
Registering on the E-Shikshakosh Bihar portal is a straightforward process, and it opens up a wealth of tools to help you manage your school tasks efficiently. Whether you’re managing attendance, accessing educational programs, or staying updated with new initiatives, E-Shikshakosh makes it easy for you to streamline your duties as an educator.